Screenshots of final project modelling work.
First thing I did was start off with making the body. I used a technique called metaballing. This is when you add a shape and then another shape next to it and when you add the metaball it merges them together. I used two spheres to make this body I changed there size and position to fit the picture bellow. Using metaballing is more limited then I expected it to be. For example if I put two cubes together and added them to a metaball it transforms them into circle shapes and then it looks the same as if I had added two spheres. So that wasn't what I was expecting... now this means I can only do a certain number of things using this technique.

The second thing I did was trying to figure out how to do the tail. It was long and at the end it was more spiky. I didn't know how to do this. I knew how to make a simple tail using the ... extrude tool but didn't know how to add spikes. I tried extruding sections of the tail but it didn't bend the right way. Before when I was messing around with the different tools I used the ... extrude tool on a circle and it made a big spiky ball. It reminded me of one of my other characters. She had something like that at the end of her tail. So I deiced to use it for this character (for now) as in its species there are many different feature among them.


This is the original body and head before I added the teeth and gap for the mouth.


Next was adding the teeth to the head. Firstly I had to add a gap in the head for the mouth. I used a cube and transformed it into the shape of a long rectangle then I placed it inside the head shape. I then used the ... tool and this cleared the area where the cube was and it left a gap in the head like a mouth.

Next I had to add teeth inside the mouth. I decided to use cones. I spent ages transforming them to fit inside the top row of the mouth.

Then I did the bottom layer. The picture bellow is a screen shot from underneath the mouth.

Next I had to create the ears I used the same technique for the headphones to do this.

I created a shape and then copied and pasted it a certain number of times to get the right shape for the ears. Once I had done that I used the Loft NURBS tools this joined up all the shapes together.

I then duplicated the ear and pasted it on the other side of the head. I also spent time transforming all the points in the left ear to make it slightly different and not just symmetrical.

Next I needed to give the character legs.

I decided I could do it in the same way as I did the ears. I created lots of circle shapes and placed them in the right place to form a leg shape. I did do this on a separate document before adding it to my model. I made the shape of the leg first before adding the toes. I had a lot of trouble figuring out how to add the toes on. First I tried adding the toes all separately from the leg but this didn't really look very good. All the shapes were fine but where they joined up didn't look very good. So I tried to continue modelling the leg and by adding a toe on from it. I did this by adding more circles and shaping them into a toes then I added them into the Loft NURBS that the leg was in.

This created one toe attached to the leg. But I couldn't make another toe in the same Loft NURBS it didn't work when I tried. So instead I decided to copy the original leg and paste it over the one with the toe. I made this one slightly bigger so as you couldn't see the other leg. Then I created the toe on the other side of the foot.

Now all that was missing was the middle toe. I did the same thing as before to make it.

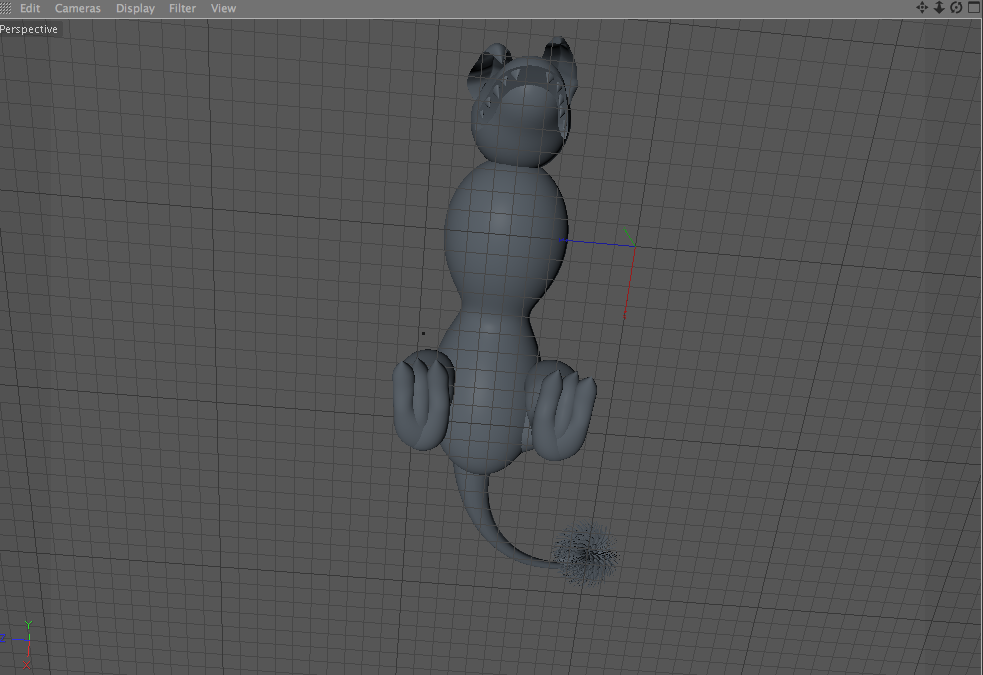
Bellow is a Birdseye view of the model so far.

This is a shot from bellow. I think this is my favourite position of the model at the moment.
Final a side view of the model. Next I need to do the front legs.

Underneath is a quick practise with colour on the model.

I started on making the front legs. I used the same technique for the back legs to make the front.

So first I made circles in the shape of the leg. Then I added loft NURBS to it.

The front two arm/legs are different to the back legs so I had to model them in different position. The back legs are a lot thicker and a different shape so I had to make it a different shape.


This is the right leg done.

I had to make the left leg from scratch though because it was at a slightly different angle.

I then transformed the legs to the right size and placed them on to the model.

The last thing I needed to do was create a background. I started by adding a landscape and transforming it to the right size. Then I rotated the character so it would be standing on a hill. I wanted it to be a sandy floor because the planet the creature lives on is quite sandy. So I added a new material and I added a brown colour to it then I selected bump on the material. I chose the texture as earth then I fiddled with the properties. I then added this material to the landscape.

The landscape looked good however it wasn't across all of the ground and it looked like it just ended suddenly. So I also added a floor with the same material on it. When I looked in render view it was spread across the whole floor.

Next I needed a sky so I went to the light options and added a sky to the background. Once I had done this I could add a colour to it. I selected cloud from the material list and after I had changed the colour to a lighter blue and the cloud consistency I added it to the sky.

I added a planet in the sky to make it look like the creature is not from earth. I added a material to it and placed it in the distance on the sky.

The last thing I added was the lighting. I placed a general light object and placed one above him which gave him a shadow and another to the side so you can clearly see the creature.

No comments:
Post a Comment